Thanks to development of microelectronics and constant improvement of the production technology the sonic depth finders stopped being elite products long ago and are nowadays available even to ordinary fishers. In order that the sonic depth finder showed exact data, it is necessary to know the basic rules of its installation.
Instruction
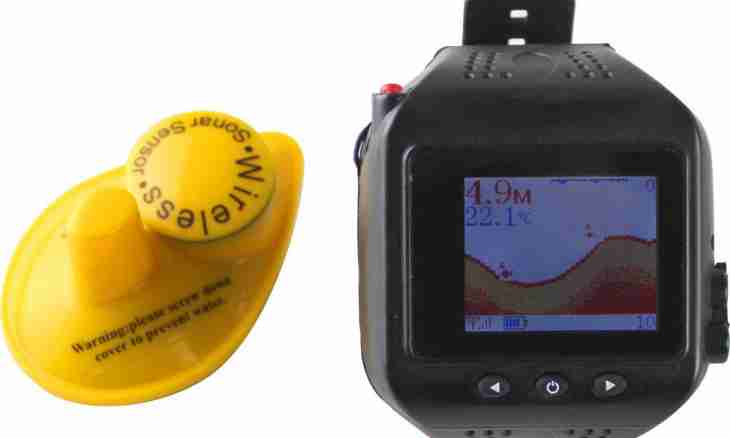
1. Before installation of the sonic depth finder it is necessary to choose the place of its fastening, proceeding from a design of the boat and the bracket device which is included in the package of delivery. The sensor of the sonic depth finder has to be completely in water, parallel to its surface. If to establish it obliquely, indications of the sonic depth finder will be incorrect.
2. At the movement of high-speed boats very often there is an air suction under the bottom. If air bubbles get on the sonic depth finder emitter, the device begins to give incorrect evidences. Therefore choose for installation of the sensor of the place with the smallest quantity of vials of air.
3. By small boats and boats the sonic depth finder sensor is usually installed behind a stern. The bracket which is included in the delivery package is very inconvenient and sometimes too strong – at arrival on an obstacle the boat can lose tranets. If a bracket of your sonic depth finder such, replace it self-made, made of an aluminum plate. Provide a possibility of its tilting at arrival on an obstacle in a design of a bracket.
4. Forever to get rid of problems with fastening of the sensor, consider the possibility of an insert it in the case of the boat. Such option is the most suitable for fiberglass boats. Choose the site of the bottom parallel to a reservoir bottom, usually such it is possible to find near a keel. In the case accurately remove in the square necessary for installation of the sensor, all layers of a structure of the building, having left only an outer thin sheath.
5. Paste the sensor on epoxy resin, having densely pressed it to an external cover of the case of the boat from within. Let's pitch grab, then fill in with epoxy resin all space around the sensor. The thin outer sheath of the case will not prevent operation of the emitter of the sonic depth finder.
6. At installation of the sonic depth finder on the rubber boat special durability is not required therefore the bracket with the sonic depth finder can fasten even on sewing "velcro". Nevertheless, it is more correct to provide fastening of a bracket of the sonic depth finder on more reliable basis – for example, to a boat seat. Take the aluminum call with a diameter of 1.5-2 cm. Flatten one end, drill in it an opening for fastening. Then bend it at right angle approximately in 3-5 cm from edge. This end you will fix a tube to a boat seat, having drilled in it an opening.
7. A tube accurately bend a tube so that it bent around a cylinder of a board of the boat and steeply went down. Cut off it approximately in 10 cm over water level. Flatten the end in the plane parallel to a board. Drill an opening in the flattened end. Here, on a screw clip, fix a flat plate with the sonic depth finder sensor. It is convenient to clamp it through rubber laying – so that the plate with the sensor moved a hand at small effort. Mooring to the coast, you at any time will be able to lift the sonic depth finder sensor.