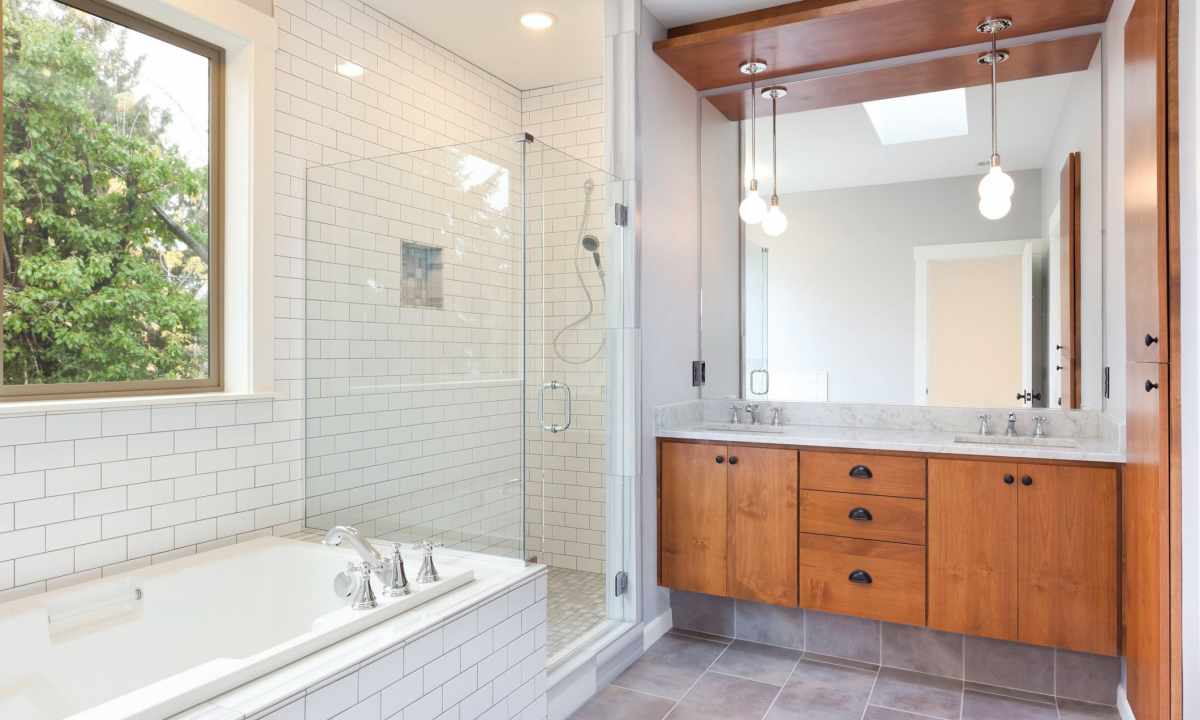
More often for finishing of the bathroom the mosaic is used. Material is worthy alternative of ceramic tile: it is resistant to temperature drops, air humidity and also has water-repellent properties. In addition, has huge number of forms and shades therefore harmoniously looks on room walls where members of household adopt water procedures.
It is required to you
- - abrasive paper;
- - primer;
- - glue;
- - toothed palette;
- - rubber roller;
- - bucket;
- - rubber palette;
- - finish.
Instruction
1. The mosaic is issued manufacturers usually in the form of sheets, with the small plitochka pasted on them. Sheets can be from paper, or grid. In the first case the decorative element should be glued paper outside that then it was possible to remove it. In the second - the mosaic fastens directly grid to wall or floor. The surface has to be plain and smooth (without roughnesses/deepenings) as the mosaic has the small sizes. Even the smallest fold will negatively affect quality of work. At the initial stage it is necessary to sand wall nazhdachka (if on wall there are hollows - to putty them tiled glue). After material dries out, it is necessary to oshkurit surface again.
2. Process surface primer of deep penetration and wait until the structure dries up. For high-quality fastening of mosaic do not try to use standard glue for tile. The decorative element is mounted to wall by means of special structure (Bergauf Mosaik, Ceresit).
3. Spread out sheets on floor, make necessary measurements, then apply exact marking on surfaces where you are going to spread mosaic. Will be necessary for performance of work: the toothed palette with teeths of 3 mm, the rubber roller and bucket for mixing of mortar. Dissolve glue with water, according to the instruction, let's it stand a little and again mix structure.
4. Apply with the toothed palette on the site of wall glue solution (by the size approximately corresponding to leaf of mosaic). Take the sheet of material and apply it to the processed site, level it, then thoroughly drive into the corner, having ironed mosaic surface the rubber roller. Do everything accurately not to shift separate plitochka on leaf.
5. Try to lay out the first rows very precisely on marking as further work and the end result will depend on it. You aspire to that to spread each leaf from the first (if the basis on which tiles are pasted gets wet, the second time will turn out nothing).
6. After stop spreading, let's a little time grab to glue (minutes 30-40). If you work with mosaic on paper, then take sponge, moisten it with water and wipe surface, impregnating basis. Then pick up the end of paper and try to unstick it accurately. It is necessary unstick all paper from surface. At once check uniformity of the laid-out mosaic (if you find shifts, then at once correct them until glue has dried finally).
7. In 2-3 days when the fastening material thoroughly dries out, it is possible to start finish. It is necessary to do it by the rubber palette as it is possible to damage mosaic if to work with metal goods. Evenly fill all seams on surface. At once remove excess finish diagonal movements by means of the rubber palette. Let's dry up to a few finish (1-1.5 hours), then wipe surface with damp sponge, and later give surface soft rag a high polish. The mosaic which is laid out by own hands will become the central element of interior of the bathroom.

