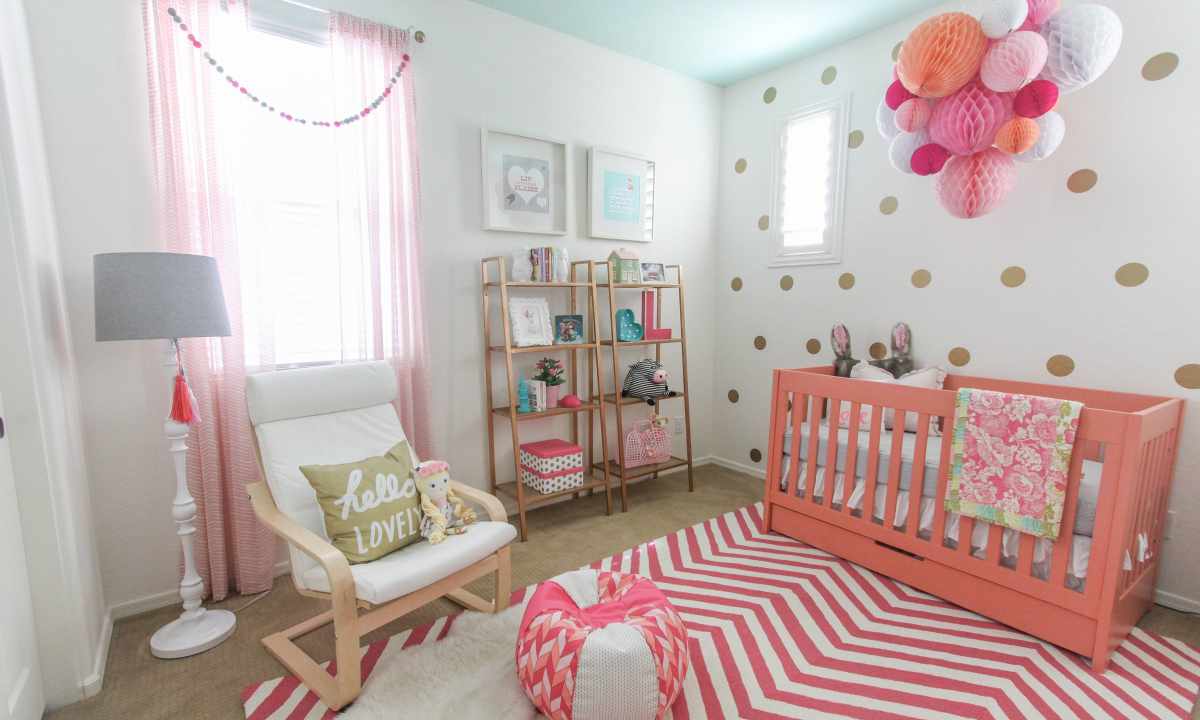
Each parent wants that the child in the room felt safe and it is joyful. Careful mom and dad instinctively choose cheerful light wall-paper and bright furniture for the nursery. And it is possible to lodge in general the child in the fairy tale if instead of normal wall-paper to ornament the room patterns and pictures from fairy tales.
It is required to you
- - Monophonic wall-paper;
- - Sponges for cliches;
- - Shoe knife;
- - Coal or pencil;
- - Than paint – gouache is the best of all;
- - Chalk and glue for primer;
- - Varnish.
Instruction
1. Paste over the nursery with monophonic wall-paper. No matter, what they will be colors, but it is better to take is lighter. Also wall-paper with the small and not really bright drawing will approach. It is possible to paste over one or two walls with wall-paper more darkly, and the others – light.
2. It is possible to ornament one wall, and also all four is possible, depending on what furniture and in what quantity will be in the room. Mark places where there will be table, cabinet, sofa and all the rest. Leave these places not painted over. The ornament can be made also on all room – for example, on bottom and top of walls or as framework for "pictures".
3. Plan lines for ornament. They have to turn out strictly vertical or strictly horizontal therefore it is recommended to use long rails and the tailor's metal square. The ornament does not need to be drawn at once because during the work on pictures paint can begin to flow, and all work will come to nothing.
4. Ground surface on which there will be picture. It is possible to mix small pounded chalk with wallpaper glue and to apply soil with thick paint brush. Let's soil dry.
5. Pick up suitable card or make the sketch. It is possible to draw fantastic heroes – Buratino, Cipollino, the Hare and the Fox, gnomes with the Snow White and in general all whose adventures are loved by your kid. It is possible to send him to space travel on rocket. The main thing that on pictures there were no villains. Karabas-Barabas will hardly calm your kid before going to bed. The picture can be made on the computer and to break into sections if you not really surely feel as the artist. It is possible to use in general multimedia projector or ancient diascope. Put the necessary picture, project it on wall and circle silhouettes.
6. Paints it will be required much therefore buy big banks or several boxes at once. At first paint background. In general draw at first the largest surfaces, consistently passing to smaller. Try to pick up more precisely colors that on one part there was no too big divergence. It is better to dissolve paint of the necessary density in separate jar, than every time to choose concentration directly in picture.
7. Having painted all pictures, you pass to ornaments. It is not obligatory to draw them. It is possible to cut out different elements from sponges and to make ornament stamping. Best of all for this purpose foam basts will be suitable for ware which have one dense party. Cut leaves, asterisks, florets. Choose in what sequence and what flowers you arrange them in ornament. It is possible to plan places slightly. It is desirable that for element of one color there was the stamp. Put at first one type of element on all length of ornament, then another and the third. After drawing each element let's paint dry. Varnish your creation or protective film.
8. It is possible to leave the corner which is not filled with anything in the room. Let the child himself will a little draw on wall just as it was made by you.

