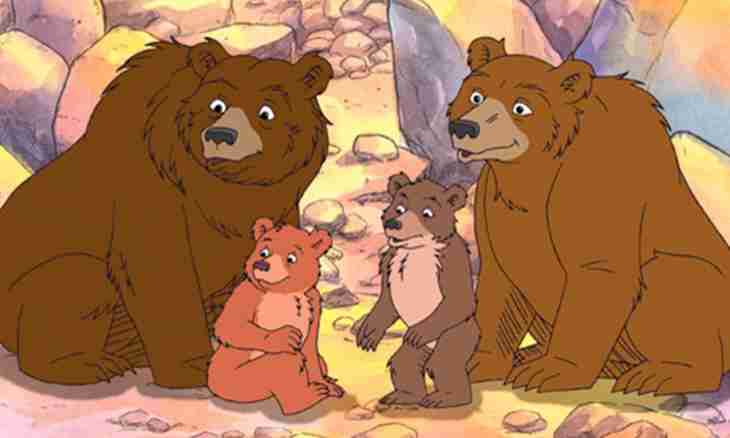
Children very much like self-made toys, and in economy of mom needlewoman will always be from what to sew a doll or a bear. The plane bear cub will bring to your kid considerable benefit, and it is possible to make it literally for an hour. If you have figured scissors and dense fabric, you will cope much quicker.
It is required to you
- - dense fabric;
- - buttons;
- - rags;
- - threads for embroidery;
- - scissors;
- - chalk;
- - edge;
- - machine with overloky;
- - buttons or beads.
Instruction
1. Begin production of such toy with a pattern. It is very simple. The head of a bear cub represents a circle to which 2 small semicircles – ears buckle up. A trunk – an oval. Pads can be in the form of ovals too, but if desired they can be made and bent. Draw the head by means of compasses, but it is possible to circle also some round subject. The pattern of a trunk can be made, having circled sweetie bath or something like that. However, very nice toys turn out also on the curves drawn by eye. Anyway you need a circle, 1 big wide oval, 4 long ovals is less and than 2 small semicircles. By the way, it is possible not only to sew details of a teddy bear, but also to connect.
2. If fabric rather thick, just transfer to it details and cut out. The bear cub will seem fluffy if to cut out figured scissors. It is the best of all for loose fabric detail to process overloky or to sheathe a loopy seam on a contour manually. If you near at hand have only fine unilateral fabric, it is better to make a bear cub two-layer moreover and to duplicate interlining or to make laying of sintepon. In the first case at first duplicate details, then put them the faces, stitch on a contour, having left small openings. Turn out a head, a trunk, pads and ears and iron. Close up holes a secret seam. At production of a product with laying tack sintepon to inner side of one of details, impose the second preparation that the faces coincided, stitch and turn out. Close up openings.
3. Plan eyes, a nose and a mouth. It is the best of all to embroider them, especially if you do a toy for the younger preschool child. He can bite off a button or a bead simply that is unsafe. Most of all satin stitch embroidery approaches.
4. Plan places for buttons. Do not forget that pads buckle up to a trunk, but not a trunk to pads, that is buttons have to be on a big oval including that to which the head will buckle up. To the head ears buckle up. Cut through loops. It is convenient to do it by a usual edge for shaving. If at you a thick thick woolen cloth, the loop can be not swept off.

