Polyfoams have very low, approximately twice smaller, than at mineral wool, heat conductivity. This property along with ability to take any form, the small weight and environmental friendliness does them by very valuable thermal insulation material. In spite of the fact that polyfoams have been developed about half a century back, their mass application has begun rather recently, during time when energy saving has found the vital relevance for mankind.
It is required to you
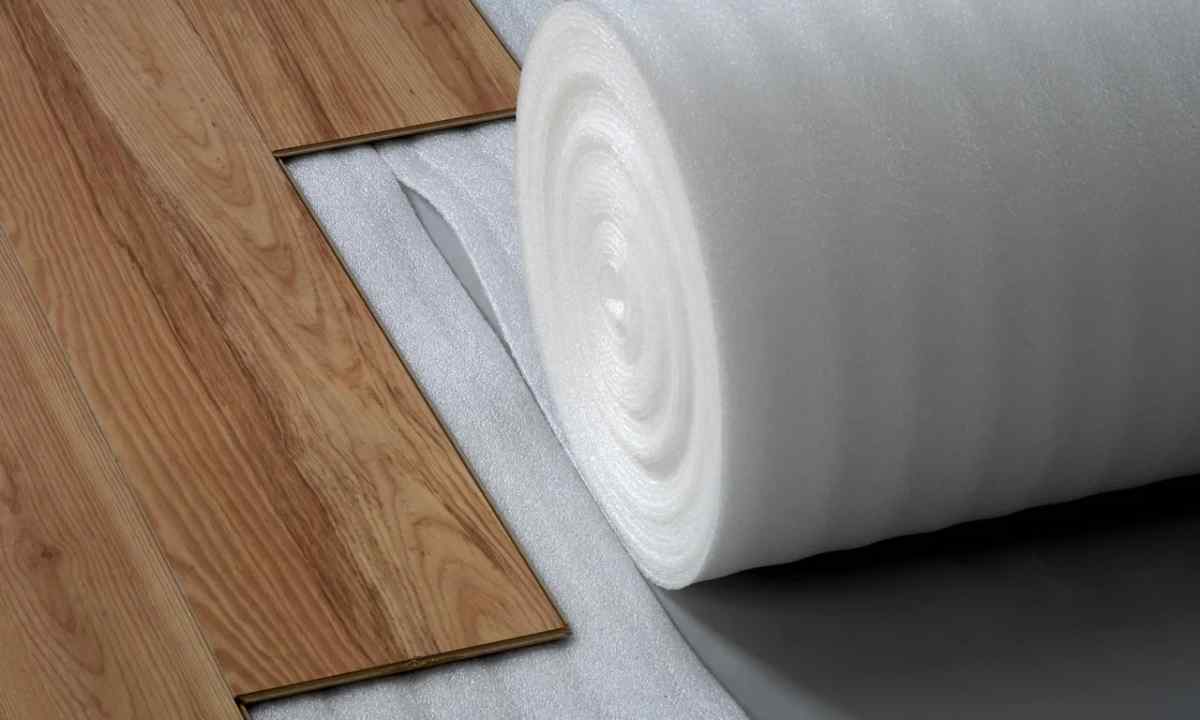
- - plates from polyfoam;
- - primer;
- - wooden bar;
- - gypsum cardboard;
- - tiled glue;
- - electric drill;
- - dish dowel;
- - mixing nozzle;
- - capacity for glue cultivation;
- - construction tool (palettes, rollers and so forth).
Instruction
1. Fastening of polyfoam under covering gypsum cardboard (for internal walls) Beat to wall dowels vertical rails through their body, previously having drilled openings. Thickness of rails has to equal to thickness of the foam plates. The distance between the next rails should not be more than 600 mm. It is desirable that it was slightly less (on 2-5 mm) width of plates. It will allow the last densely, with small tightness, to enter between rails. If plates have the big sizes, they should be cut.
2. Establish heater between rails. In the presence of gaps it is necessary to fill them with inserts from polyfoam. Correctly established heater has to sit between rails densely.
3. Cover polyfoam with vapor barrier, fixing it to rails construction buttons. Stick joints between layers of vapor barrier with tape. Sheathe wall sheets of gypsum cardboard, fixing them to rails nails with big hats. The last have to be drowned in gypsum cardboard.
4. Fastening of polyfoam under plaster (for external and internal walls) Clean wall from dirt, dust, solution flows, remove considerable roughnesses (putty). If wall crude, dry it. Progruntuyte surface any primer suitable for this purpose (Neomid Primer, Polimin AS-5, etc.). Before continuation of works it has to dry out.
5. Stir tiled glue (Polimin of Ceresit P-22, SM11 and so forth), observing exact proportions of dry mix and water. When stirring use the electric drill equipped with mixing nozzle. In preparation time of glue scrupulously fulfill the requirements of the instruction.
6. Miss the mark polyfoam with tiled glue. It has to be put with strip on plate perimeter (at small distance from edge with admissions for air outlet) and certain sites in internal zone.
7. Densely drive plate into the corner, slightly displacing it in different directions during pressing. Begin to paste plates from bottom corner of wall. The subsequent ranks have to be established with joint shift in relation to the previous row.
8. Attach plates dish dowels. For this purpose drill openings so that the drill entered wall not less than on 40-50 mm. Clean openings, pulling out from them several times the rotating drill. Hammer dowel, utoply their hats into polyfoam. To reduce expense of dowels, it is possible to hammer them into joint between plates. The center of each leaf has to be beaten by one dowel.
9. Apply adhesive layer on heater, smooth it with the palette, in roll in it plastic armoring lattice and put one more adhesive layer over grid. After smoothing by the palette, give to glue time to dry out. Wall also apply to Progruntuyta on it plaster layer.