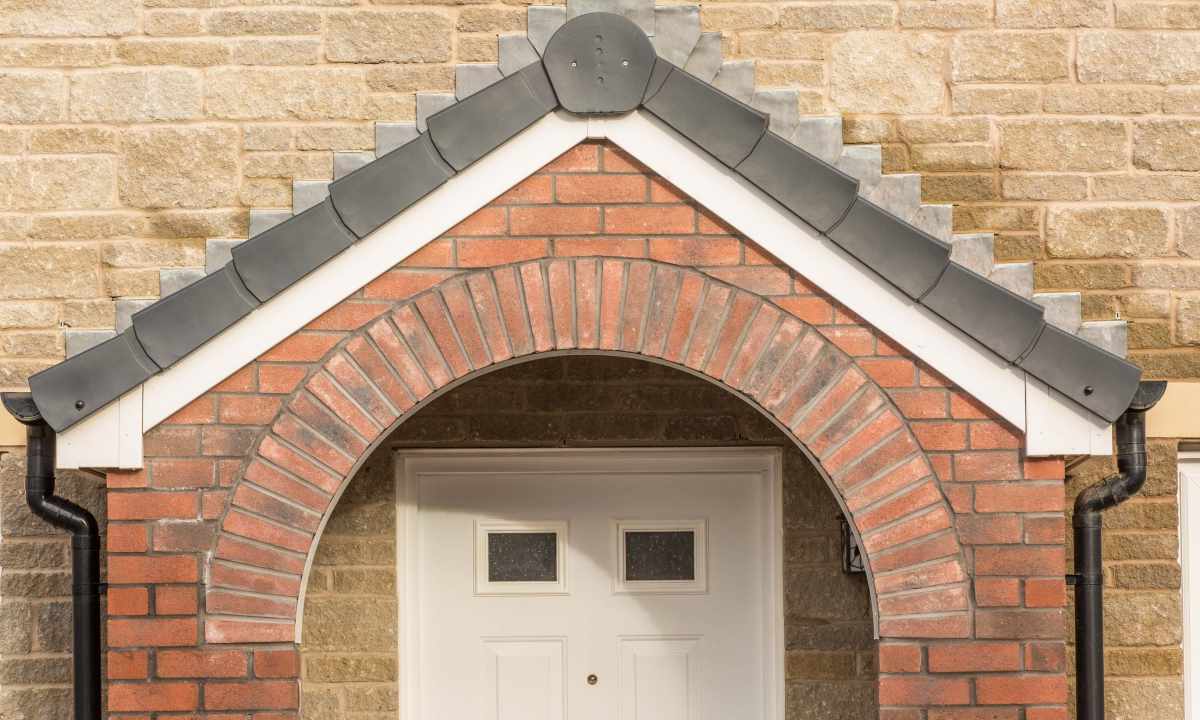
Door openings in owner-occupied dwellings and apartments are often executed in the form of boring and monotonous rectangular designs. Therefore many people who want to make the dwelling more modern change such usual form for arch. Some ask in civil engineering firms for the help, others try to improve door openings of the house independently.
It is required to you
- - pencil
- - ruler
- - gypsum cardboard
- - nail and rail for production of compasses
- - horizontal and vertical guides
- - arch corners
- - self-tapping screws
- - fret saw
Instruction
1. Begin upclassing of door opening with calculation of the sizes of the future arch. Over door note height of arch and add to it 5 more centimeters. Thus height of future arch aperture will be received.
2. Choose initial materials for production of arch. Such materials as tree, gypsum cardboard or expanded polystyrene can be them. Gypsum cardboard is considered the most universal and reliable construction material which is widely used when carrying out internal finishing work.
3. Now start direct production of arch. For this purpose attach guides which will have to hold arch to door opening. Measure distance from bottom side of horizontal guide to ceiling and aperture width.
4. Transfer the obtained data to the sheet of gypsum cardboard. Take half of width of aperture for arch radius. By means of compasses which represent wooden rail which on one end has nail outline arch circle. Cut out the received arch by means of the fret saw from the sheet of gypsum cardboard. Make one more same arch by the same principle.
5. Establish by means of self-tapping screws on vertical and also horizontal guides arch preparations on both sides of aperture. Make slopes. For this purpose attach on circle to gypsum cardboard inside the directing profile. Repeat the same actions on the other side of arch. You watch that on circle the guides have coincided.
6. Take small piece of profile which needs to be inserted into the established guides, and connect halves of the arch to its help.
7. Properly putty and accurately paint the turned-out arch. By means of special arch corners finish slope corners which are intended for protection against various damages of your new arch.