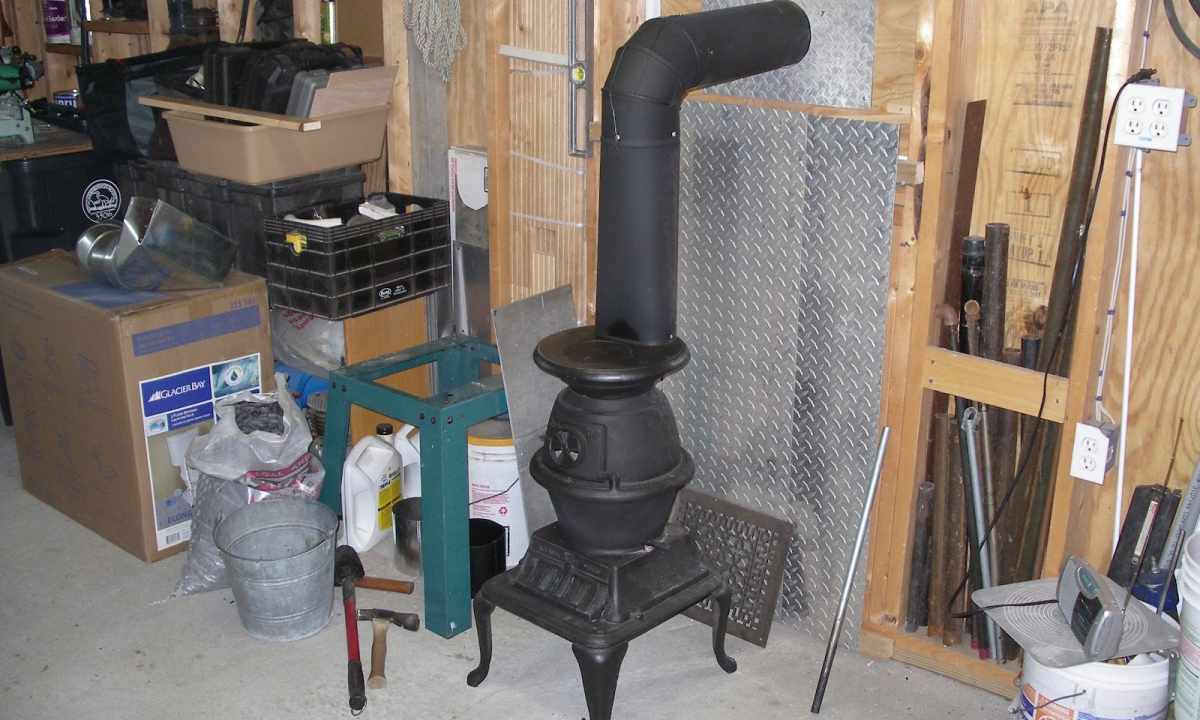
"Potbelly stove" - one of the simplest and most compact oven installations. Thanks to the small sizes it is possible not only to establish it at the dacha or in garage, but also to take in campaign. There are many types of this furnace on sale, but it will be more interesting and more favorable to bring together her by the hands.
Merits and demerits of self-made potbelly stoves
The self-made mini-furnace – rather disputable design. Before its production it is necessary to weigh carefully all pros and cons to avoid possible problems. Undoubtedly, the potbelly stove has many advantages:
- completely independent operation;
- high profitability thanks to compatibility with any solid fuel;
- the universal design suitable for use in the enclosed space and in the open air;
- availability of production due to small amount of necessary materials.
Nevertheless, the self-made furnace has enough shortcomings too. Treat them:
- fast burning out of fuel and cooling of the furnace in connection with high heat conductivity of metal;
- low life cycle;
- formation of significant amount of soot in chimney pipe;
- high fire danger.
The furnace potbelly stove can differ in unstable work and demands constant observation of process of fire chamber. At its use in the close and not aired rooms the risk of emergence of the fire repeatedly increases. It is necessary to start production of design only in case of full confidence in the forces and in the presence of rather materials and components, high on quality.
The rectangular potbelly stove with the reflector
The portable stove can be built from materials, disposed. For this purpose the sheets of metal wall of 3-4 mm thick welded among themselves end-to-end will approach. In total it will be necessary to cut preparation under five planes (upper part, bottom, back and sidewalls). On the front panel will be door for furnace and ashpit. Prepare additional metal sheets which will go for production of smoke pipe and coupling pieces. The scheme of design looks as follows:
At first weld side surfaces on bottom, having them strictly vertically. It is possible to use the simple construction level which will allow to calculate right angle in accuracy. As soon as walls are connected finally, weld back wall. The internal space of the furnace has to be separated into three compartments:
- dymooborot;
- ashpit;
- fire chamber.
Separate ashpit and fire chamber grid iron (on it fuel materials will keep within). Make steel strips 30 mm wide and length, the corresponding width of the furnace. Weld strips on two rods from metal with a diameter of 20 mm (they will act as stiffening fins). Weld steel corners on sides of fire chamber (15 cm higher than the bottom). The grid should not be welded on corners as it has to be removable: after a while part of plates can fuse and demand replacement.
Weld two metal rods which will form basis for the reflector on upper part of fire chamber. As the last the removable metal sheet separating dymooborot and fire chamber is applied. Have the reflector thus that the channel for smoke exit was formed. It strongly will heat up from within therefore it is better to apply thick-walled metal (12-16 mm).
Final strokes of assembly
On completion phase of works the welding of future roof of "potbelly stove" is made. The opening for chimney pipe has to be surely provided in it. It is also necessary to cut and weld crossing point, having placed it at the level of grid iron. It will separate grid iron and ashpit.
As for door, it can be any suitable size. The main thing that through it it was convenient to put fuel and also to extract ashes. It is better to do it on all width of the furnace in addition if necessary to take grid iron and the reflector. Now, when everything is ready, weld the handle on door, veils and latches. The last can be made of thick steel rods or tubes. Remember that the ready design has to stand on legs. It is the best of all to make them of metal tubes with a diameter of 2-3 cm and 8-10 cm long, having welded on the end nut with the twisted bolt for possibility of regulation of height.
Production of flue from pipe with a diameter about 15-18 cm becomes final stage. It has to is removed through opening in wall. Bends are located at an angle in 45 degrees and without any horizontal sites. The rotating valve has to be provided in the lower part of chimney pipe. The last is cut out from sheet metal plate in the form of circle by diameter slightly less, than at the main pipe. On the center the opening under the rotary handle which can be manufactured of metal rod is drilled. Place chimney pipe on sleeve which height has to be not less than 15-20 cm. This part is welded on opening on top cover. At last, install the potbelly stove, adjust its height and try to flood.
The simple potbelly stove from can
If near at hand there are no necessary materials, for example, sheets from metal, it is possible to make simpler design of normal garden can. The product will serve not for long (1-2 seasons), but it is simple to make it, and it will enough give heat. The main works come down to mounting of legs, arrangement of discharge pipe and some additional operations. The furnace will have the following appearance:
For assembly will be required:
- can;
- smoke-deflecting pipe;
- wire for grid-iron;
- working tools;
- welding machine.
Establish can horizontally and note where there will be ashpit in the form of sickle or rectangle. It is better to arrange it under cover. Cut opening in wall or the bottom of can for smoke-deflecting pipe. To make grid-iron, stock up with steel wire. Bend it and push through cover, having accurately unbent and having arranged in the necessary situation that it was convenient to put fuel materials.
Fix installation on legs, having cut out them from tubes or corners and having welded on design. Further weld the offtake. From outer side of the furnace it is possible to build the reflector which will preserve the generated heat. Weld from handle sides to transfer design from place to place. The potbelly stove from can is ready.
How to heat the potbelly stove
That the furnace well burned and gave heat, it is not enough to fill of it with chaotic fuel quantity. The heat from the "overfed" or "underfed" potbelly stove quickly will evaporate through pipe as in fire chamber the necessary circulation is not formed. It is originally necessary to determine the range of fuel weight at the expense of which high efficiency will remain. For this purpose perform the following operations:
- Prepare fuel bucket.
- Put handful of sawdust or peat in fire chamber and kindle.
- After formation of strong flame throw a little more fuel until the hog is begun shines cherry shade.
- Remember amount of the taken fuel: it will also be the minimum bookmark. As a rule the maximum heat emission requires portion three times more, than minimum.
When using high-quality fuel (pellets or anthracite) of pine forests it can be heated in the form of the ring changing on width and "walking" longwise. In this case, to determine the volume and mass of bookmark, it is necessary to carry out several fire chambers. In the course of fuel burning gradually the ring will be narrowed, being displaced by the beginning of hog. At optimum bookmark its width will reach about 3-4 palms.