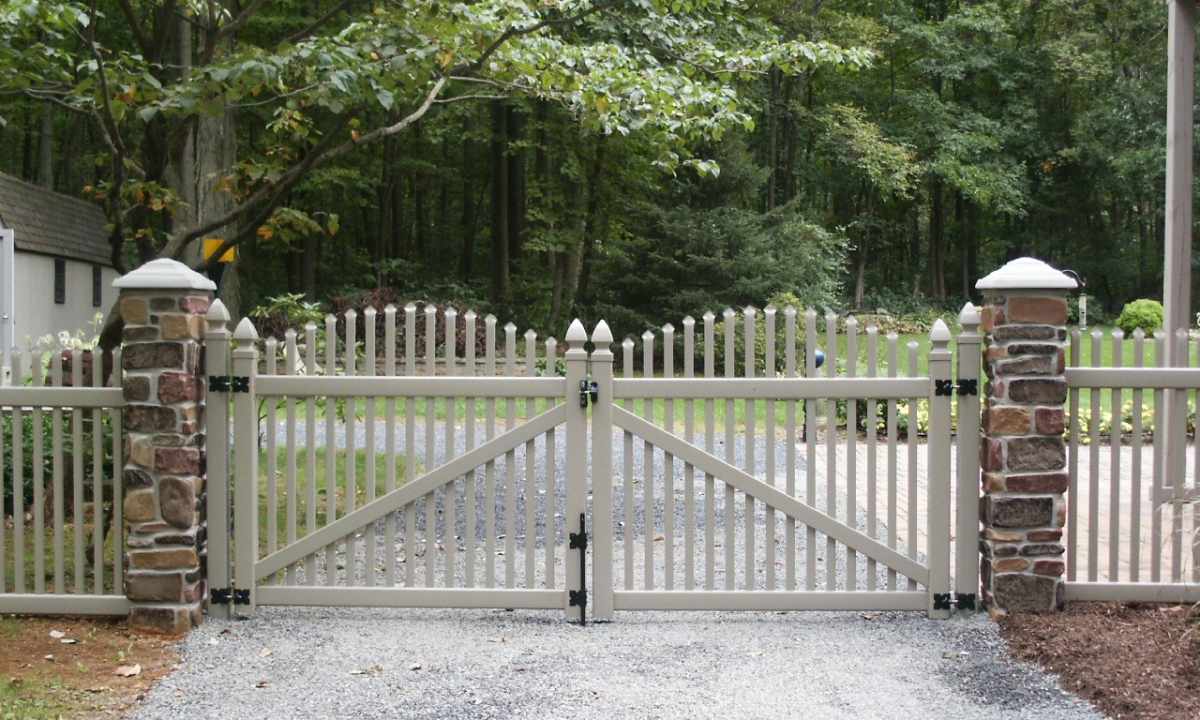
The warped gate – the phenomenon quite frequent. Having passed across any provincial town, it is possible you will see the mass of gate which racks have different height and are inclined from each other. It is not necessary to be the big expert to understand that the reason of such behavior of racks consists in lack of rigid communication between them and the wrong filling or in general lack of the base.
It is required to you
- - mm pipe Ø100;
- - corner of 100х100 mm;
- - grinder ("Bulgarian");
- - welding machine;
- - cement;
- - sand;
- - eaves board and bar for timbering;
- - carpenter's tool;
- - sovok and bayonet shovels.
Instruction
1. Cut off preparations for gate. For racks use pipe Ø100 of mm or corner of 100х100 mm. Their length is defined by the sum of height of gate and lengths of the ends which are closed up to the earth (0.8-1 m). With the planned height of gate of 2 m length of preparations has to equal 2.8-3 m. The crossing point connecting racks make 100х100 mm of corner. Its length has to be equal to width of gate. For standard gate it is accepted by equal 3 m. If as racks the pipe is used, cut off one shelf of corner on both sides at an angle 30 ° and give to its edge the concave form. It becomes in order that edges of corner well adjoined to racks at their welding.
2. Collect from preparations framework of gate on the earth, having chosen for this purpose the place more exactly. It has to resemble letter "H" – two racks and the crossing point laid between them at distance of 2 m from their top (or 0.8-1 m from bottom). At the same time two conditions have to be provided: parallelism of racks among themselves and perpendicularity of crossing point in relation to racks.
3. Weld crossing point on racks. Both shelves of corners have to be reliably welded by continuous seam. Weld on crossing point in two-three places any pieces of metal, having directed them down. They will play role of the armature which is strongly connecting crossing point to the base.
4. Dig trench under filling of the base. Its width has to be 350-400 mm, length – 3.5 meters (for 3-meter gate). Necessary depth of trench is defined with frost depth of soil, its look, level of underground water. For simplicity the equal frost depth of soil can accept it in your area who can be recognized on the construction websites.
5. Make wooden boards of eaves board and collect from them timbering. Its sizes in the plan have to be 0.3х3.3 m. It is desirable to make walls of timbering a little extending to bottom – to avoid the pushing-out impact of soil on the base.
6. Establish gate in timbering so that the crossing point was flush with earth surface, and racks were located vertically. For this purpose enclose under racks or crossing point of prop from stones or metal and fix racks from two parties by emphasis. Lay in timbering armature from any kind of metal – wire, scraps of metal section, etc.
7. Prepare sand-cement slurry with ratio 1:4 (cement: sand) also fill in it in timbering. To spend less solution, fill timbering with stones and beaten brick. During filling ram solution shovel. The surface of the flooded base has to be located flush with the earth and crossing point. Before hanging gate, give to solution time to harden – not less than a week.

