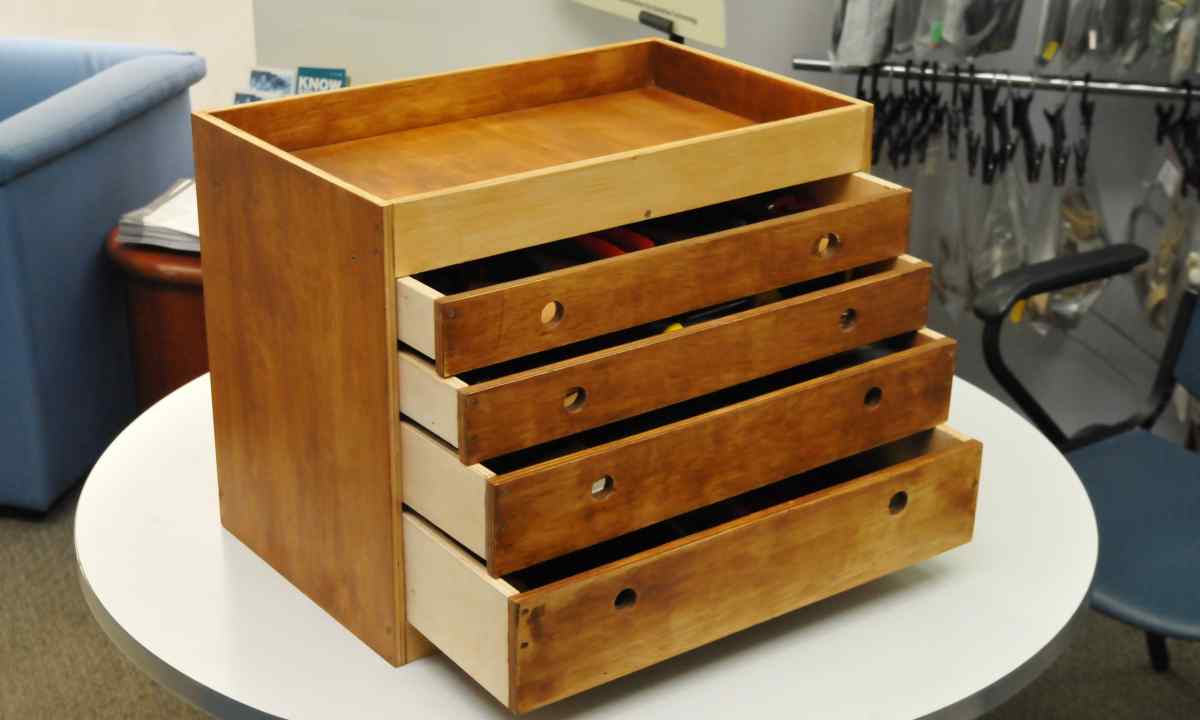
Perhaps, is not present in the house of such room where drawers would not be used. This type of boxes is extremely popular and finds the application both in the bathroom, and in kitchen, and in the bedroom and in the living room. To make and establish drawer by the hands absolutely not so difficult as it seems. And it quite can do practically to any owner.
- - path for drawer skids;
- - screw-driver;
- - drill;
- - screws;
- - back-cantilevered bar;
- - surface gage;
- - finishing nails;
- - clamps;
- - glue;
- - french nails.
1. Establish path for drawer skids. Depending on box design, the path can lean on the back panel and front frame or fasten to the stationary shelf. In the first case of skid are established by means of the special back-cantilevered bar which is included in the package.
2. Measure the size of aperture and cut necessary preparations. Plan and draw by means of surface gage contours of grooves of groove on inside of lobby and side panels. Grooves have to pass at distance 0.6 cm from bottom edge. Their width has to be 1/4 inches.
3. Cut grooves along nacherchenny contour by means of mill and direct cutter. Depth of grooves has to be 0.6 cm.
4. Pull together preparations by means of clamps and accurately stick together them. At the same time back and front walls of box have to appear between sidewalls. The upper edges of all parts have to be at one level. Strengthen position of joints of parts by means of finishing nails.
5. Let's glue dry out and after that remove clamps. Insert box bottom so that it has completely entered grooves of grooves. It is not recommended to apply glue on grooves and bottom of box.
6. Connect box bottom to its back panel by means of french nails. Nails have to be located from each other at distance in 10 cm.
7. Attach front pad on front wall of box so that she acted on 2.5 cm from below and on 1.3 cm on each side. The front pad fastens to front wall by means of screws which are twisted from within box.
8. Invert box and draw middle line from back to the front panel. This line has to break box bottom into two equal parts.
9. Attach skids to box bottom on noted middle line. Skids fasten by means of two screws. The first screw is screwed in through box bottom in its back panel, the second - on diagonal in the front panel.
10. Level skids on fillet and push box forward that the fillet and skids have become isolated.

