Photowall-paper is an easy way of creation of an effective decor in the room. Besides, it is possible to expand with their help on any wall visually internal space of the room, to make it is lighter, cozier. But to achieve similar results, it is necessary to know how it is correct to glue photowall-paper. There are nuances.
As it is correct to glue photowall-paper on a wall: preparatory stage
That whom the question interests as it is correct to glue photowall-paper, before work it is necessary to execute the following:
- To buy necessary materials and tools, including wallpaper glue, capacity for its stirring, a brush for its drawing, the roller for smoothing, a stationery knife for cutting of edges, a roulette, level, a pencil or a piece of chalk.
- To prepare a wall as photowall-paper should be pasted on a plain and clean surface – it it is necessary to clean previously, cracks and cracks to close up filling and to smooth properly – any roughnesses can break harmony of the photodrawing, having created distortions on its surface.
- To prepare glue solution according to the instruction on packing.
- To mark a wall surface, using a roulette and level, a pencil or chalk having planned locations of panels.
- Photowall-paper needs to be spread out on a floor on previously spread newspapers so that the integral picture turned out.
- Further it is necessary to start directly gluing.
How it is correct to glue photowall-paper from 8 parts?
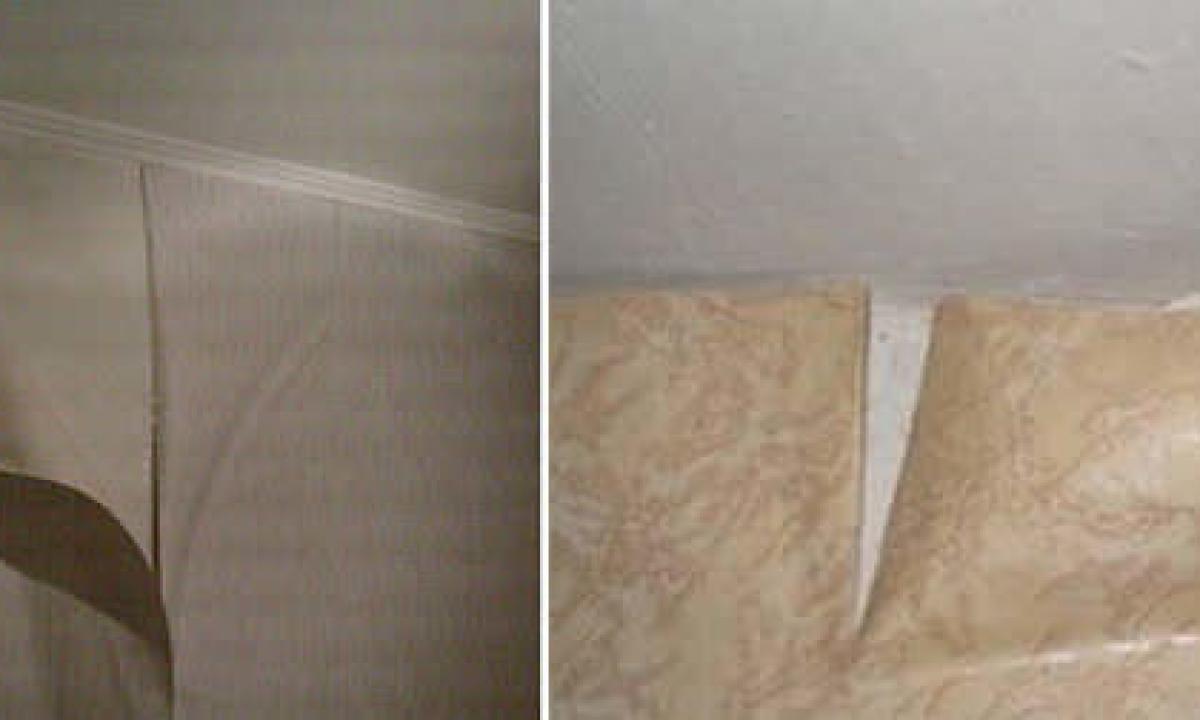
As a rule, the photopicture is the national team – divided into 8 panels which it is necessary to have on a wall in two horizontal rows. That the buyer did not get confused in this puzzle, producers number parts on a reverse side. It is necessary to begin a pokleyka with Part No. 1: we apply on it glue by means of a brush, we do the same with a wall, we wait for several minutes, then the cloth drives into the corner, according to earlier put marking, carefully we derange the roller from the middle to edges that there were no bubbles. We make the same with No. No. 2, 3 and 4. Usually panels are pasted with an overlap – producers provided for this purpose a 5-millimeter edging. Having finished the top row, we start lower. We begin with No. 5 – we place it at No. 1, also with an overlap, and we watch closely that the drawing was not violated. Then we paste panels at No. No. 6, 7 and 8. Accurately we remove a rag surplus of glue. And after photowall-paper to dry, in need of their edge it is possible to correct by means of a stationery knife.
How it is correct to glue paper photowall-paper?
It is necessary to consider some nuances of process of gluing depending on of what material photowall-paper is made. One of the most widespread options – paper photowall-paper. In this case it is necessary to use special glue. Especially carefully they should coat edges of panels. But it is impossible to apply too much glue, otherwise photowall-paper will soften. It should be taken into account that after drying they will shrink therefore it is necessary to place on a wall elements only with an overlap.
How it is correct to glue flizelinovy photowall-paper?
Special glue is also necessary for photowall-paper on a flizelinovy basis. You should not save it – it is necessary to miss the mark carefully both a wall, and panels that they slid. Surplus of the gluing structure can be removed with a dry rag then.
How it is correct to glue glossy photowall-paper?
Technology of gluing of photowall-paper with a glossy surface in general standard. Except for one moment: it is necessary to watch that on a front surface as little as possible glue got carefully. And its surplus should be removed by means of soap solution that for certain there is no ugly stain left.

