The raised soil dampness – the factor which is extremely adversely influencing life cycle of the bases of buildings and growth of the majority of cultural plants. Struggle with remoisture content of the soil in two ways – dumping of its surface and the device of drainage. And if the first way is possible generally only during initial stage of construction and is very expensive, then the second can be applied with rather small expenditure of forces and means at any time.
It is required to you
- – drainage perforated pipes from PVC with a diameter of 100 mm;
- – gravel;
- – bank sand;
- – geotextiles;
- – tool for earthwork operations;
- – level or hydrolevel.
Instruction
1. Define the direction of bias of the site where it is supposed to arrange drainage. If visually it is difficult to make it, use level or hydrolevel. In the absence of that and another use long flexible hose, filling in in it water and noting its level on the ends of hose which by the principle of communicating vessels has to be established in one horizontal plane. Define specific places where it is possible to dewater (pond, ditch of the general drainage system, the hollow on the area and so forth).
2. Make the scheme of drainage with display of arrangement of all drainage ditches, inspection (drainage) and water receiving chambers. At charting take the following information into account: • At the house drainage device the drainage ditch digs on its perimeter at distance of 1-1.5 m from the base of the house.· at the device of drainage of undeveloped site the distance between drainage ditches has to be no more than 10 m on clay soils (usually accept 5-6 m) and no more than 20 m – on sandy (accept about 10 m). • The general lay-out of drainage ditches can be various (in the form of fir-tree, zigzag, rectangular contour), however all of them have to be reported with each other and have bias towards water.· dumping the Inspection chambers which are not obligatory establish in places of bend of drainage pipes (ditches) for control over condition of drainage system.
3. Dig out drainage ditches – according to the made scheme. Their width has to be about 40 cm, depth at loamy soils about 1 m, at sandy – about 0.5-0.6 m. Cover their bottom and walls with geotextiles, having left necessary stock for cover of ditch from above.
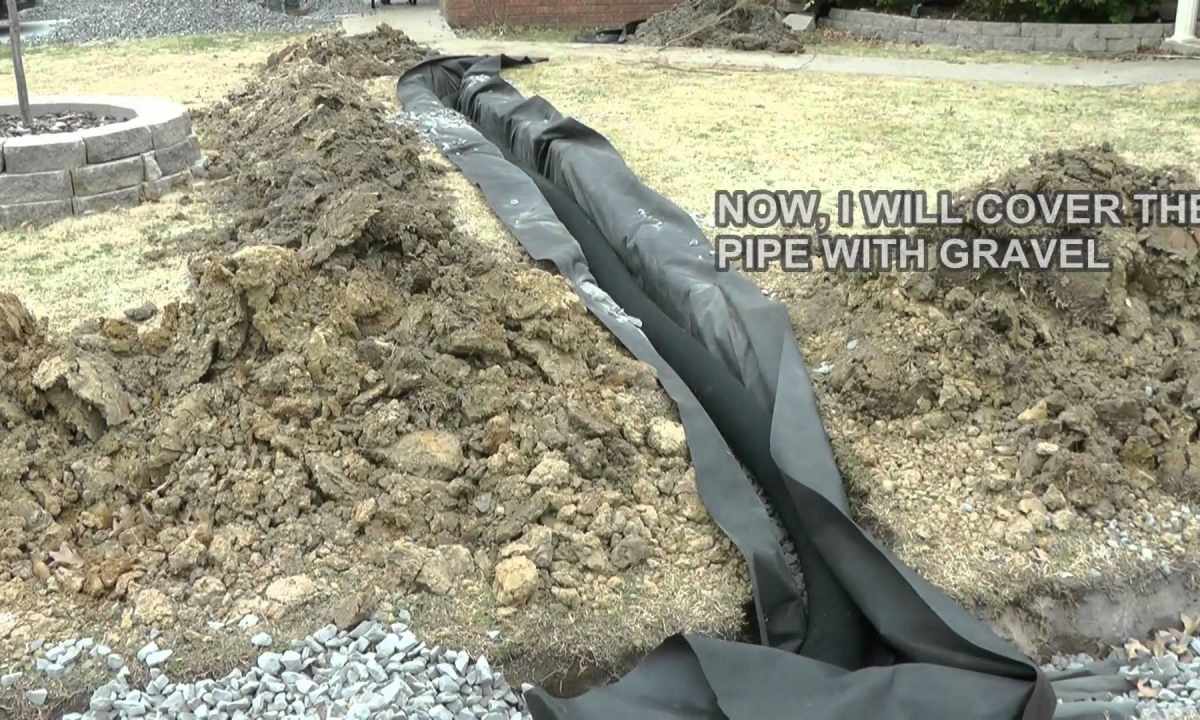
4. Fill five-centimetric layer of bank sand on bottom of ditches. Lay plastic perforated pipes (drains) on sand, providing their bias towards dumping of waters not less than 2 mm by one length meter. Connect all drains among themselves fitting or (in places of bend) inspection chambers. Fill up pipes with gravel, close it from above geotextiles. In upper part of ditches lay sand and the turf.
5. In the absence of the natural place of dumping of water (pond, the small river) in the lowest place of the site arrange the served or unattended water receiving well in which take away all drains from drainage region.
6. For the device of unattended water receiving well dig out hole to diameters about 1.5 meters and not less than 2 meters in depth, fill it with gravel, cover from above with geotextiles, powder with sand and lay the turf. Such well will carry out natural water drainage in underlying layers of earth.
7. At very high level of underground water when natural water drainage is impossible, arrange the served water receiving well. Dig out hole under concrete rings with a diameter of 1.5-2 m not less than 2 meters in depth. Establish concrete rings in hole, fill up its bottom with gravel.
8. Install in well the pump for water pumping, stretch water drain hoses to places where it is possible to pump out water. The system of pumping of water can be equipped with the operating equipment which is automatically starting the pump at achievement by water of certain level. Do not forget to cover well from above with the hatch.